How FIDAR works
Nine steps from laying the optical fibre to writing into company systems. The first three show how it used to be done.
Paper, tape measure and trust
The scope of work was measured by hand and written on paper. Once the trench was backfilled, what actually went underground could no longer be verified.
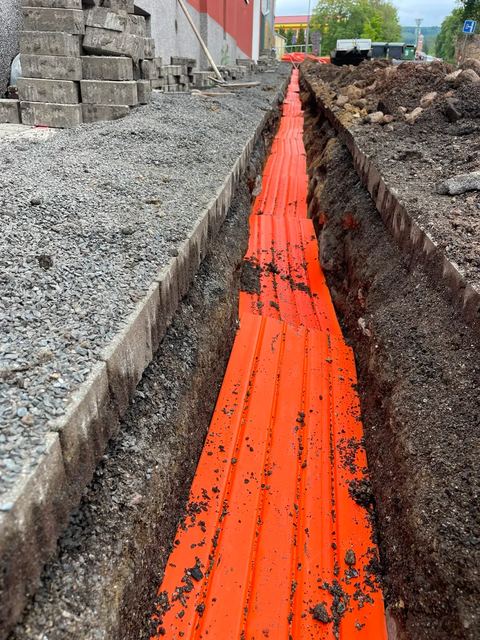
Historically – laying down of optical fibre, soil and protective foil
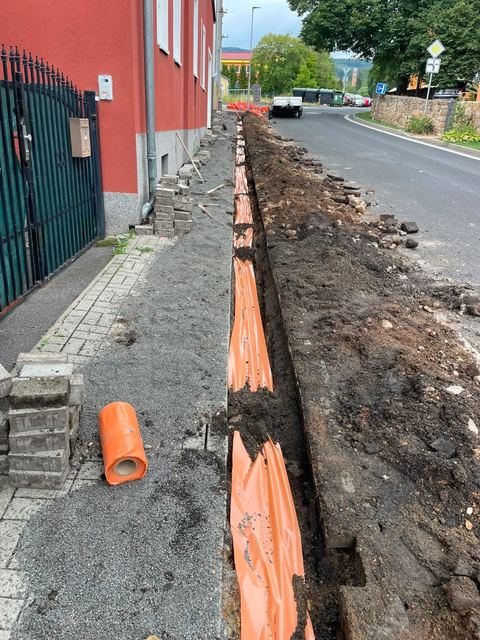
Historically – backfill of optical fibre and protective foil
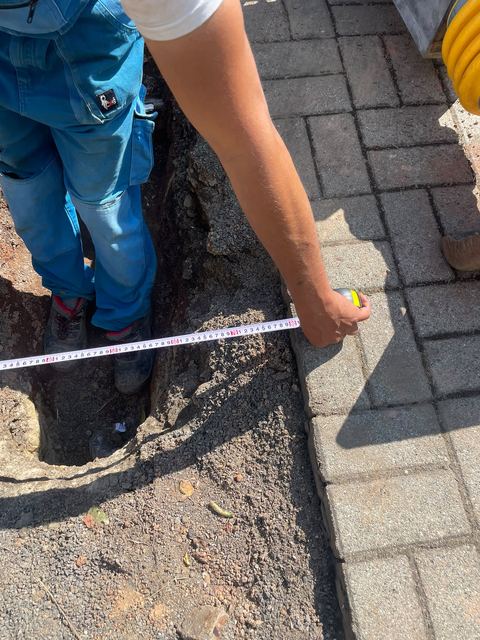
Historically – measurement of trench works
Smart foil and a phone in hand
The smart protective foil carries a scale. The technician photographs it with a phone and the system evaluates depth and scope on its own — with GPS, timestamp and an unforgeable signature.
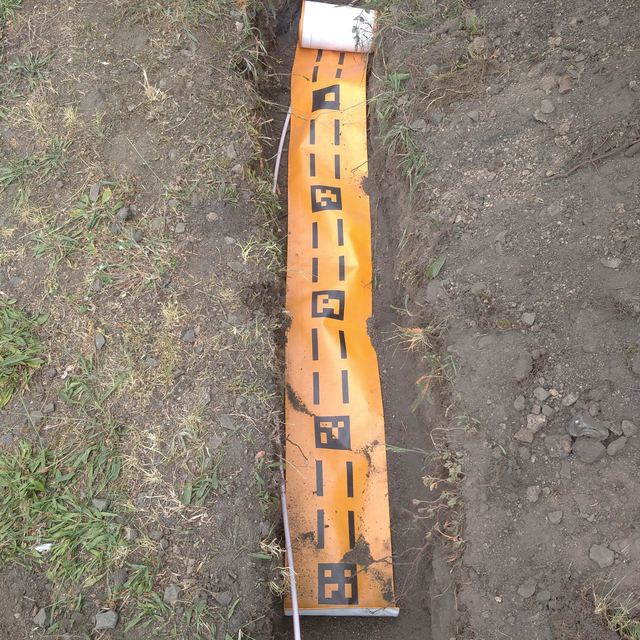
Now – laying down of smart protective foil

Use a smartphone
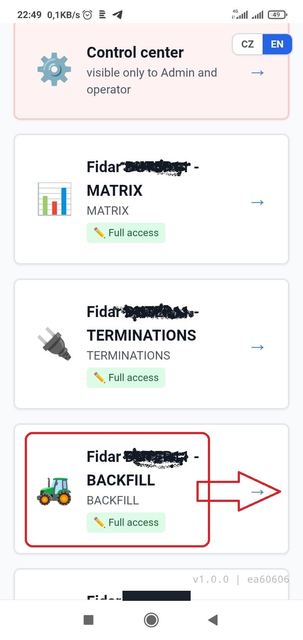
Select Backfill
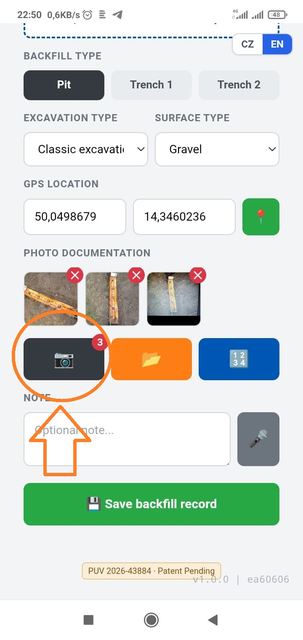
Min. 3 photos per trench
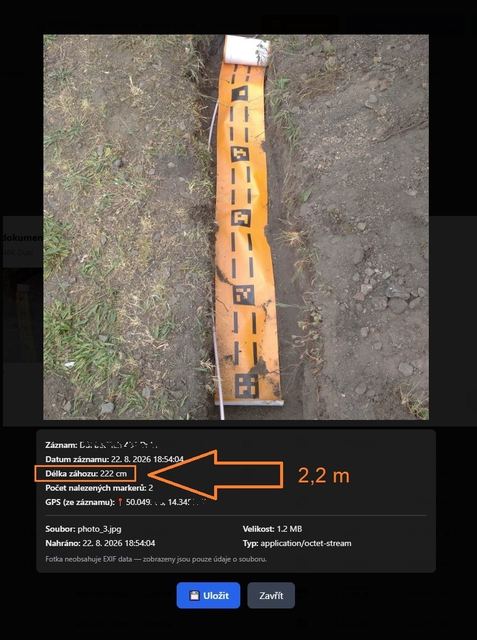
Review of photos and dates
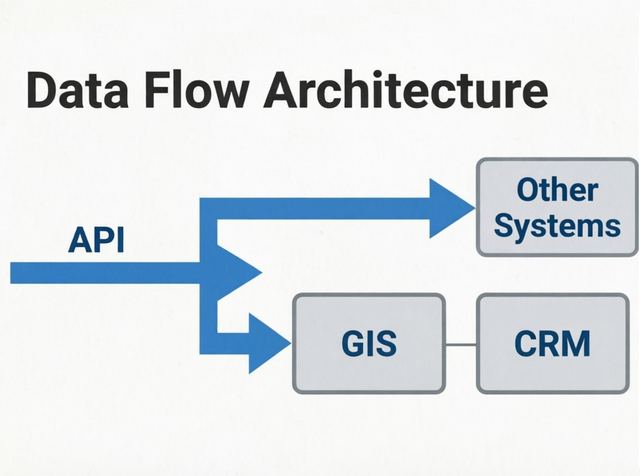
Push to external systems